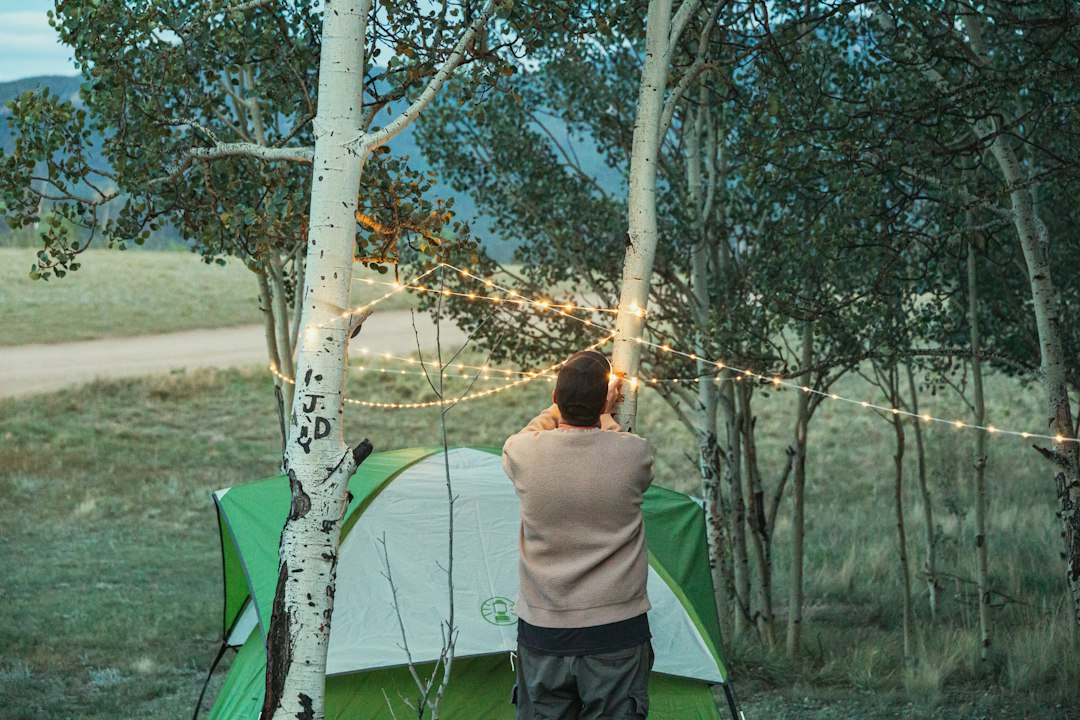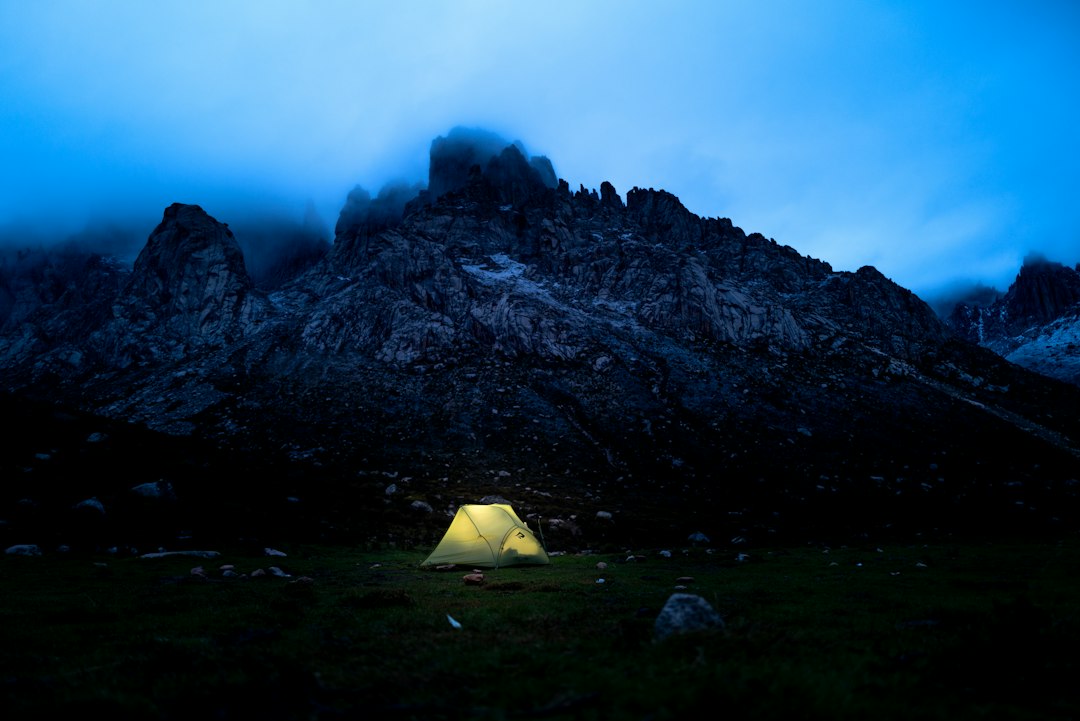
Get the result first: how a successful weekend backpacking trip looks
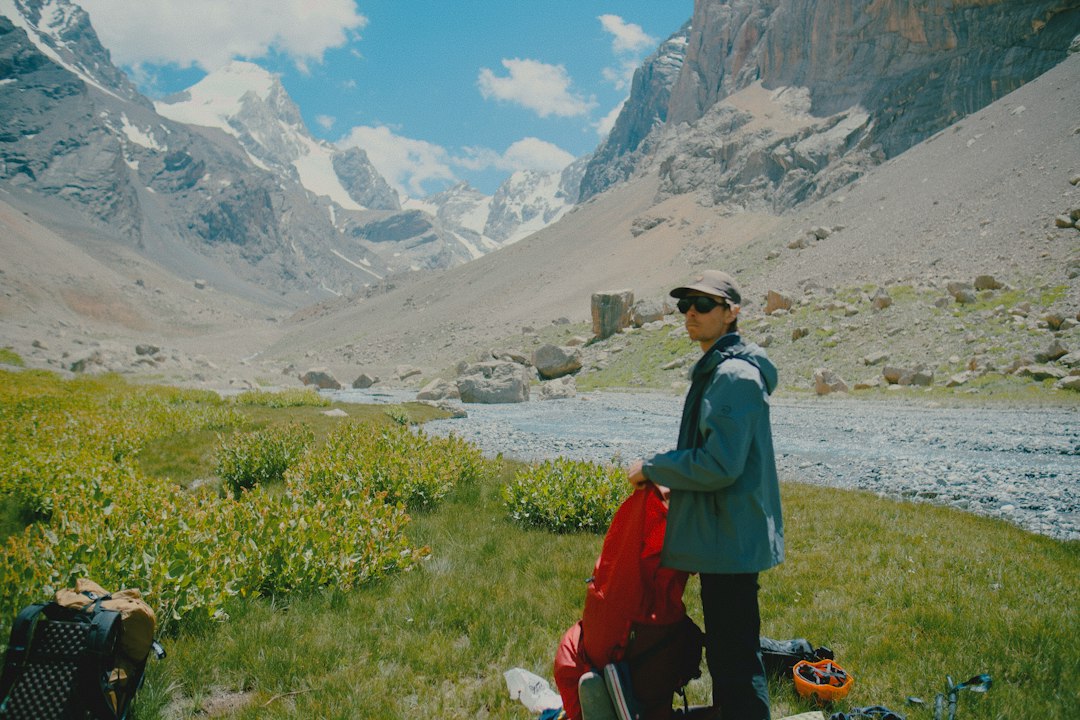
A successful weekend backpacking trip is a two-night trek where you hike manageable miles to a comfortable campsite, sleep well, stay fed and hydrated, and return safely without strain or gear regrets. You don’t need ultralight mastery or elaborate gear—prioritize a good tent, a reliable sleep system, sensible food, a route you can finish in daylight, and basic safety items.
Choose the right route and distance for your first two-night trek
Start with a loop or point-to-point that keeps daily mileage in the 6–10 mile range depending on terrain and elevation gain. For most beginners, 6–8 miles on day one, a short day (2–4 miles) to explore or rest on day two, then 6–8 miles back works well. If the trail is steep or high-elevation, reduce mileage by 25–40%.
Pick a route with these features:
- Clear trailheads with parking and cell signal at the start for logistics.
- Designated campsites or obvious flat spots near water to avoid illegal or fragile-area camping.
- Known water sources that are seasonally reliable (check recent trip reports or park alerts).
- Options to shorten or bail out if weather or fatigue become issues.
Plan your time: a simple itinerary
Work backwards from your day-one start time. Example: arrive at trailhead by 9 a.m., hike 4–6 hours to camp arriving early afternoon, which leaves time to set up, filter water, cook and scout. On day two, either relax/explore close by or do a short side hike. On day three, pack and allow a full morning to hike out, aiming to finish before late afternoon.
Essential gear and what you can skip
Focus on four categories: shelter, sleep, pack and safety.
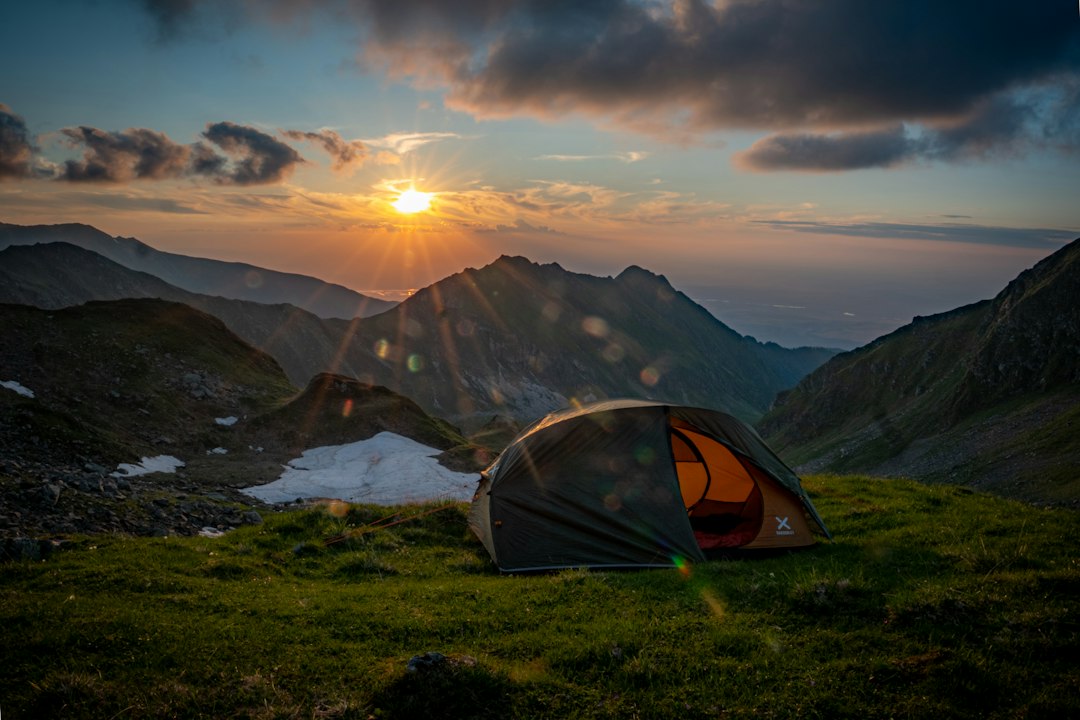
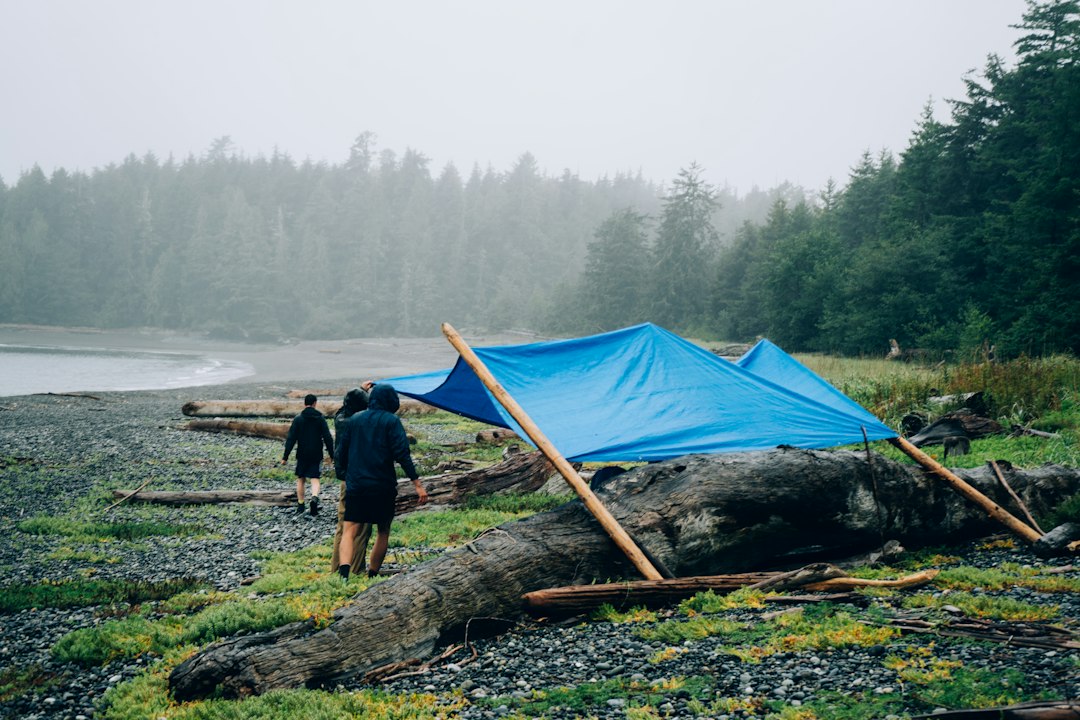
- Shelter: A freestanding 2-person backpacking tent is often the best first choice—easy to pitch and roomy enough for gear. For most beginners the Night Cat Backpacking Tent 2 Person (ID 2297) is a good match: easy setup and solid weather protection.
- Sleep system: A three-season sleeping bag rated to 10–20°F below expected night temps plus a sleeping pad that insulates from ground cold.
- Pack and clothing: A 40–55L backpack with a padded hipbelt, lightweight layering (base, insulating midlayer, shell), spare socks, hat and rainwear.
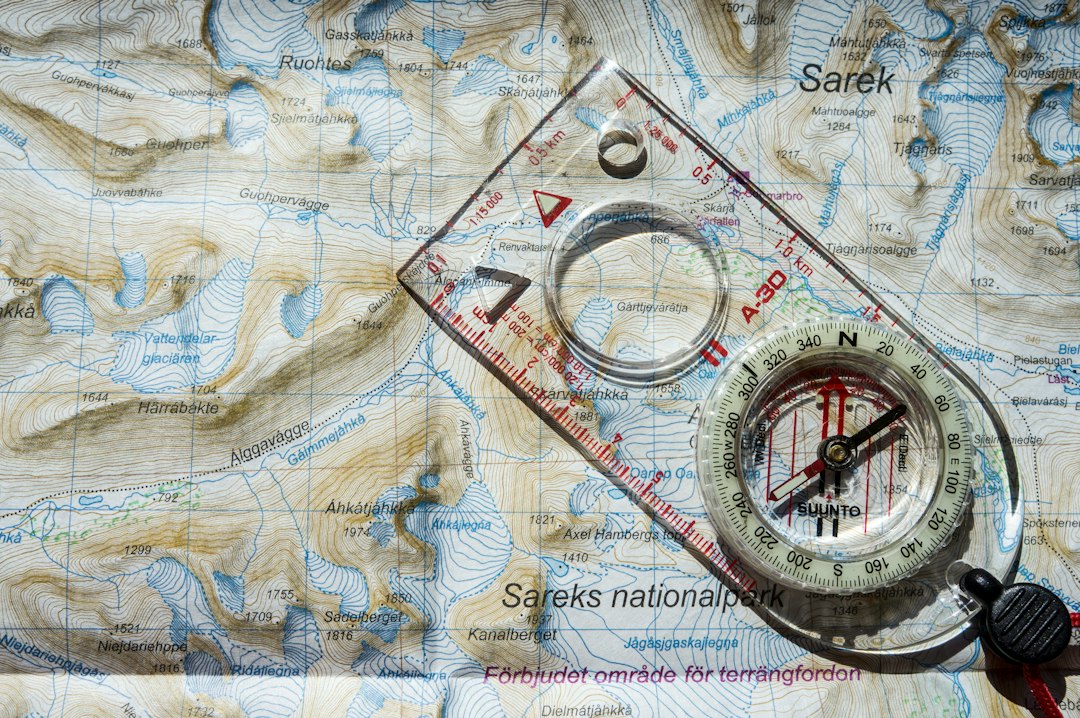
- Safety and navigation: Map/compass or downloaded offline map, headlamp with spare batteries, first-aid kit, lighter and backup firestarter, whistle.
Things you can usually skip on a first weekend: heavy winter gear, elaborate cook systems (a small canister stove is fine), and ultralight experimentation unless you know how to use it.
Packing strategy: what to carry and where
Use “need-access” placement. Keep rain shell, map, snacks and headlamp in the top or hipbelt pockets. Heavy items (sleeping bag in a stuff sack, cooking pot, stove canister) should sit close to your back near shoulder blades to improve balance. Compressible clothes and your tent go at the bottom; water and food mid-pack. Pack an extra zip-top for trash/food storage.
Minimal two-night gear list (quick view)
- Tent, footprint or tarp, stakes
- Sleeping bag + pad
- Backpack (40–55L)
- Cook system: canister stove, pot, lighter, spork
- Water treatment (filter or tablets) and 1–2L bottles
- Food for 3 days (breakfast, two lunches/snacks, two dinners)
- Layered clothing, rain jacket, hat, extra socks
- Headlamp, basic first-aid, multitool, map/compass
Food and water: simple, reliable planning
Plan higher-calorie dinners (dehydrated meals, pasta, rice) and easy breakfasts (oats, instant coffee). Bring lunch/snacks that you can eat while moving—nuts, energy bars, tortillas with cheese/jerky.
Treat or filter all water from streams. A small pump filter or gravity filter is easiest for a group; tablets or UV can work for solo/backpackers who prioritize weight. Carry one liter at all times while hiking and refill at reliable sources early in the afternoon to avoid late-day scraping for water.
Camp selection, setup and comfort tricks
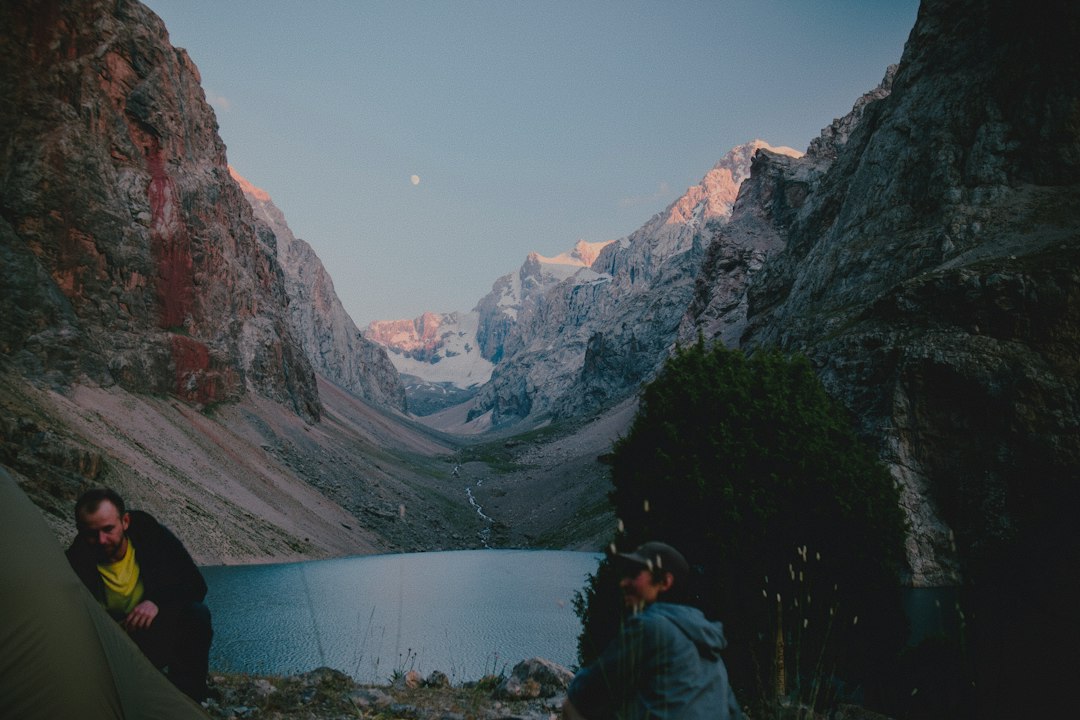
Pick a campsite on durable ground (established site, rock, gravel or hardened soil), not close to fragile vegetation. Look for a flat pad, natural wind shelter, and a slight drainage saddle to avoid pooling rainwater. Set the tent with the door facing away from prevailing wind and use a footprint to protect the floor.
Comfort wins the weekend: sleep on a full-length sleeping pad, use a pillow (or pack a small inflatable one), and set up a tidy cooking area downwind and at least 200 feet from water sources to respect Leave No Trace rules.
Safety, weather and contingency planning
Check a 7–10 day forecast, then recheck 24–48 hours before departure. Know local hazards (bears, flash floods, snowfields). Share a simple plan with someone: route, expected return time, and bail points. Carry extra food and a warm layer for emergencies. If severe weather is forecast on day one, postpone: exposed ridgelines and heavy rain are the most common trip-enders.
Troubleshooting common beginner problems
- Too-heavy pack: remove nonessentials—leave the camp chair, extra “just-in-case” clothes, or a backup cookbook.
- Poor sleep: add insulation under sleeping bag, use earplugs, pitch away from campsite trail intersections.
- Water scarcity: pre-plan alternate water sources and carry extra capacity (collapsible bottles) if sources are uncertain.
- Tent condensation: ventilate by cracking vestibule zippers and avoid bringing wet clothes inside unless sealed in a bag.
After the trip: quick checklist for useful learning
Note what you used, what you didn’t, how your feet and knees felt, and whether you were comfortable at night. Update your gear list accordingly—sometimes one small change (lighter camp stove, different socks, or a new pad) turns an okay trip into a comfortable one.
- Pick a 6–8 mile first-day route with reliable water and a designated campsite.
- Test-pitch your tent and sleep setup at home before leaving.
- Pack layered clothing, a 10–20°F rated bag, and a pad for insulation.
- Bring a simple canister stove and treat all water found on trail.
- Share your route and return time with someone and identify bailout points.
A two-night weekend backpacking trip should feel restorative, not punishing: choose a short route, prioritize a good tent and sleep system, and carry reliable water treatment. With modest mileage and the right basics, your first trek becomes an encouraging foundation for longer trips.
How many miles should I plan per day for a first two-night trek?
Plan 6–10 miles on hiking days depending on elevation—aim lower on steep or high-altitude terrain and include time for breaks and setup.
Do I need a bear canister for a weekend trip?
Check local regulations—many parks require bear-resistant storage; otherwise, hang food where safe or use a lightweight canister if bears are active.
What is the best way to treat backcountry water?
Pump/inline filters or gravity filters are reliable for groups; tablets or UV purifiers work for solo hikers who need low weight and fast treatment.
Can I use a 2-person tent solo on a weekend trip?
Yes—2-person tents offer extra gear space and comfort; choose a freestanding design for easy setup and shelter from weather.