Most people skip small gear tests thinking “it’ll be fine” — a quick inspection finds problems you can fix in the driveway.
The primary intent of this guide is to give a practical, scan-friendly pre-trip camping gear inspection so you catch common failures before you leave. Use this list as a walk-through: if an item fails a check, repair, replace, or note a workaround. The focus keyphrase is used where it helps you search and remember the task: camping gear inspection.
Pack a plan: set aside 45–90 minutes before departure
Schedule a single uninterrupted block of time and pull gear out where you can see it—garage floor, driveway table, or living room. Working from large items to small helps: shelter, sleep system, cooking, lighting, water, pack/duffel, clothes, and safety/repair kit.
Shelter and site hardware: tent, tarp, stakes and poles
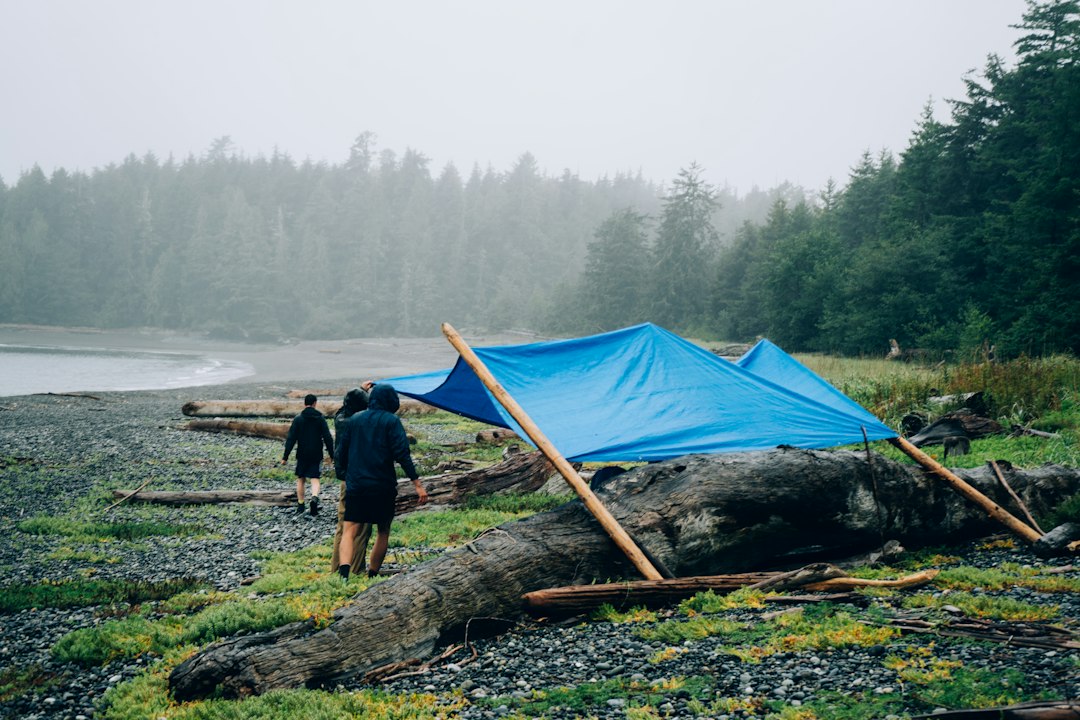
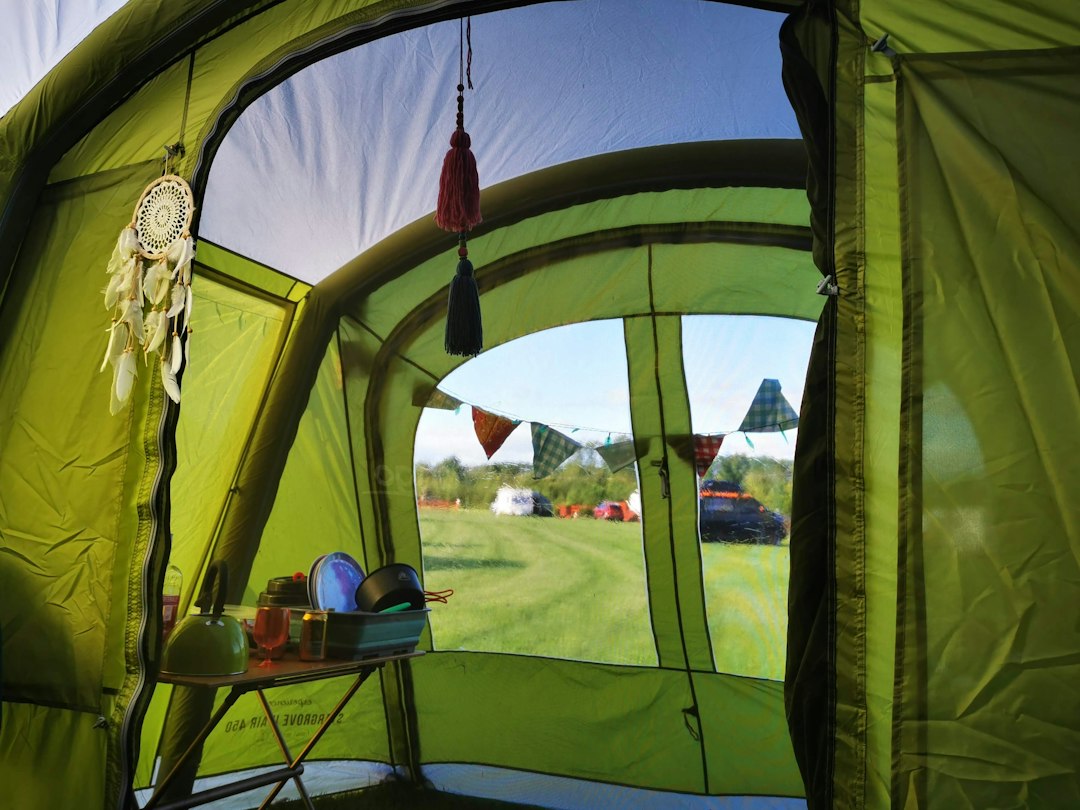
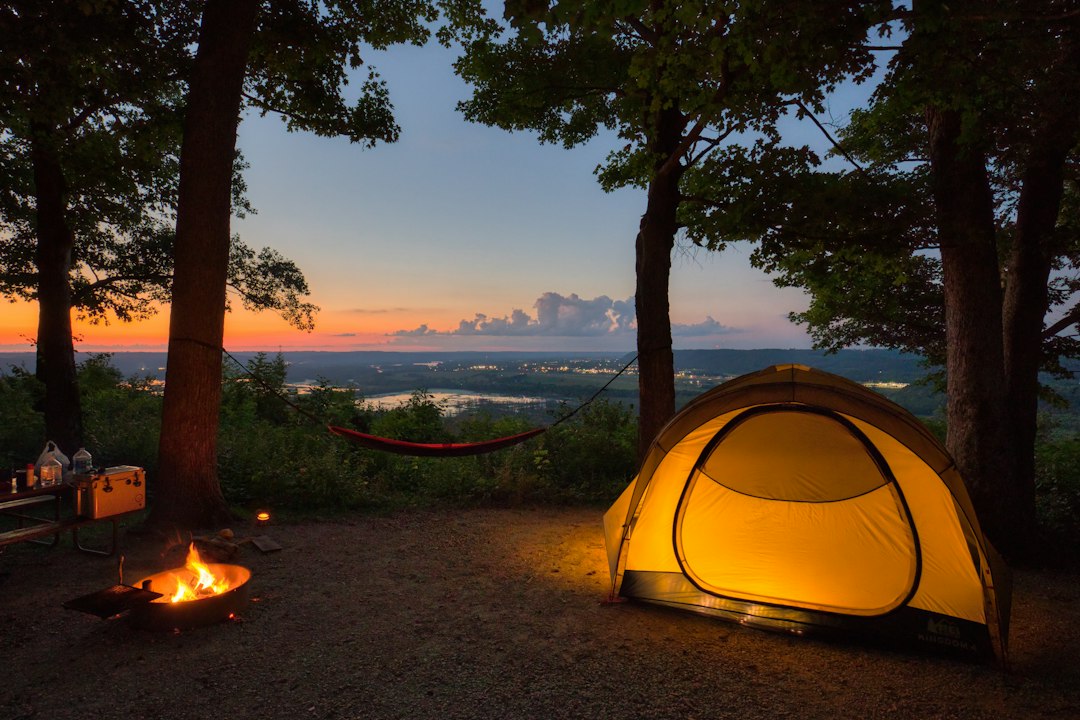
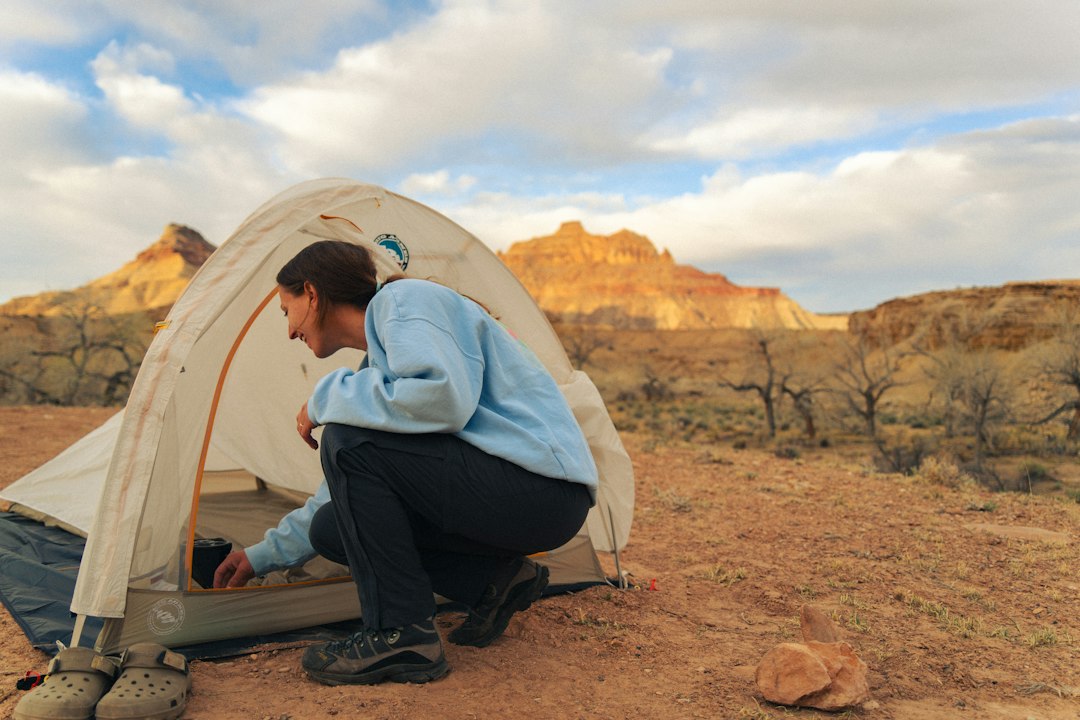
- Pitch the tent. Always. Zip it up, stake it out and lift the rainfly if you use one. Check seams for fresh leakage at seams, floor, and vestibules; look for split stitching or pinholes in the bathtub floor.
- Inspect poles. Look for cracked ferrules, delaminating fiberglass, or bent aluminum. Replace or tape splints for a short fix; avoid fiberglass poles on rugged climbs.
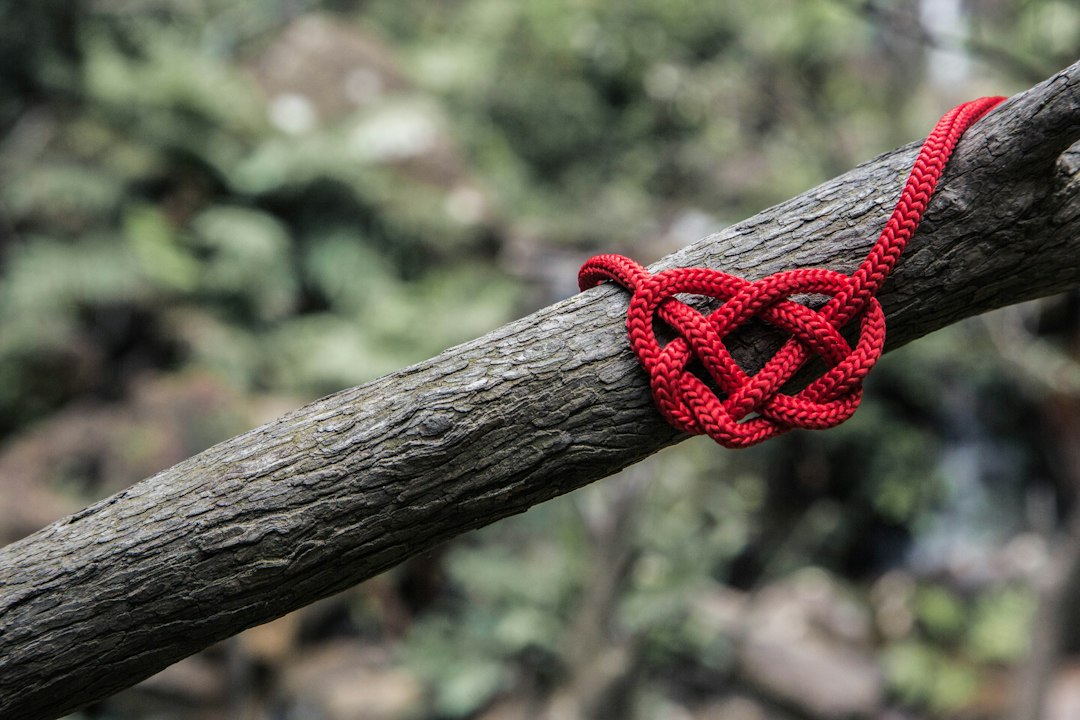
- Stakes and guylines. Test every stake to ensure threads are intact and not rusted; tie and tighten guylines to verify cordlocks slide and hold. Count stakes—losing one can spoil a windy setup.
- Zippers and fabrics. Run zippers end-to-end with a lubricant if they stick; patch small tears now (seam grip or fabric tape) rather than at camp.
Sleep system: pads, bags and pillows
Inflatable pads and pump sacks are common failure points. Inflate sleeping pads fully and leave them overnight if possible to find slow leaks. Unzip and inspect sleeping bags for down clumping, zipper snags, and draft collars.
- Test pad inflation and comfort—lie on it briefly to feel pressure points.
- Check vacuum/repair kits for inflatable pads (valve tools, patches).
- Confirm sleeping bag temperature rating matches expected night temps; pack a liner for extra warmth instead of improvising at camp.
Cooking gear and fuel: stoves, canisters, cookware
Run a stove burn test outside or in a ventilated garage. A misbehaving stove is unsafe at a campsite.
- Attach a fuel canister or line and verify steady flame across heat settings; listen for hissing and check connectors for cracks or cross-threading.
- Check spare fuel supply. If you need X canisters for the trip, carry at least X+1 for delays or extra meals.
- Inspect cookware for bent handles, greasy seals, and warped pans that won’t sit flat on the stove.
Lights and power: headlamps, lanterns and batteries
Turn on every light. Batteries that seemed fine in storage often fail under load.
- Replace old batteries or swap to fresh cells in headlamps and lanterns; bring at least one spare headlamp per adult.
- Test rechargeable power banks: fully charge them and run a device charge cycle to confirm usable capacity.
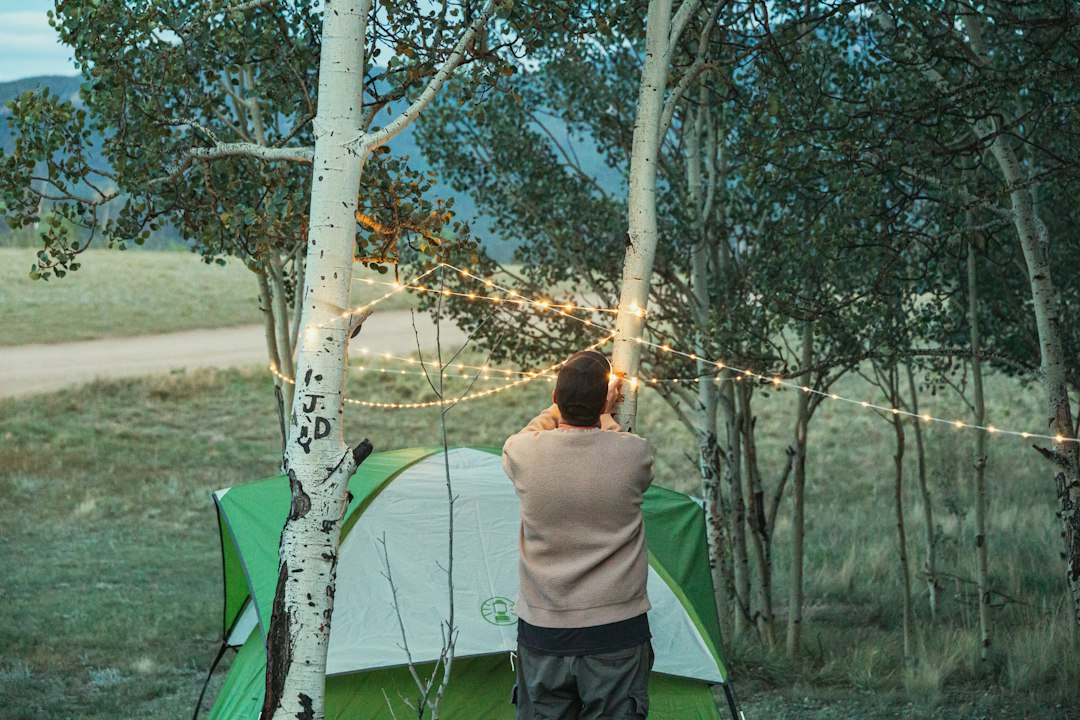
- Pack a small multi-light strategy: headlamp for hands-free, a lantern for camp, and a backup small flashlight in your pack.
Water and hydration: filters, bottles and bladders
Sanitation and flow issues are common. Test and clean filters before departure so you’re not troubleshooting while tired.
- Flush water filters according to the manufacturer and run at least one liter through to verify flow rate and that no residual taste remains.
- Inspect bladders for leaks by filling and squeezing; check bite valves and cap threads.
- Mark water capacity for each container and pack a backup purification method (tablets or UV) in case a filter clogs.
Packs, duffels and load test
Do a dress rehearsal: load your pack to the expected hiking weight and walk 10–15 minutes around the block. Adjust straps and hip belt placement now.
- Check seams, buckles, and zippers under load. Replace or secure damaged straps to avoid field repairs.
- Verify rain cover fits or that your duffel is waterproof—if you use a waterproof duffel, check roll-top closures for wear.
- Label essential pockets (first aid, headlamp, map) so each person knows where to find things quickly.
Safety, repairs and first-aid
Open the first-aid kit and inventory: bandages, antiseptic, blister supplies, and any personal meds. Confirm expiration dates.

- Assemble a small repair kit: needle and thread, duct tape, spare buckles, zip-tie, and a multi-tool. Store it in an obvious pocket.
- Practice basic fixes: resewing a strap or replacing a zipper pull. Knowing how removes the panic at a campfire.
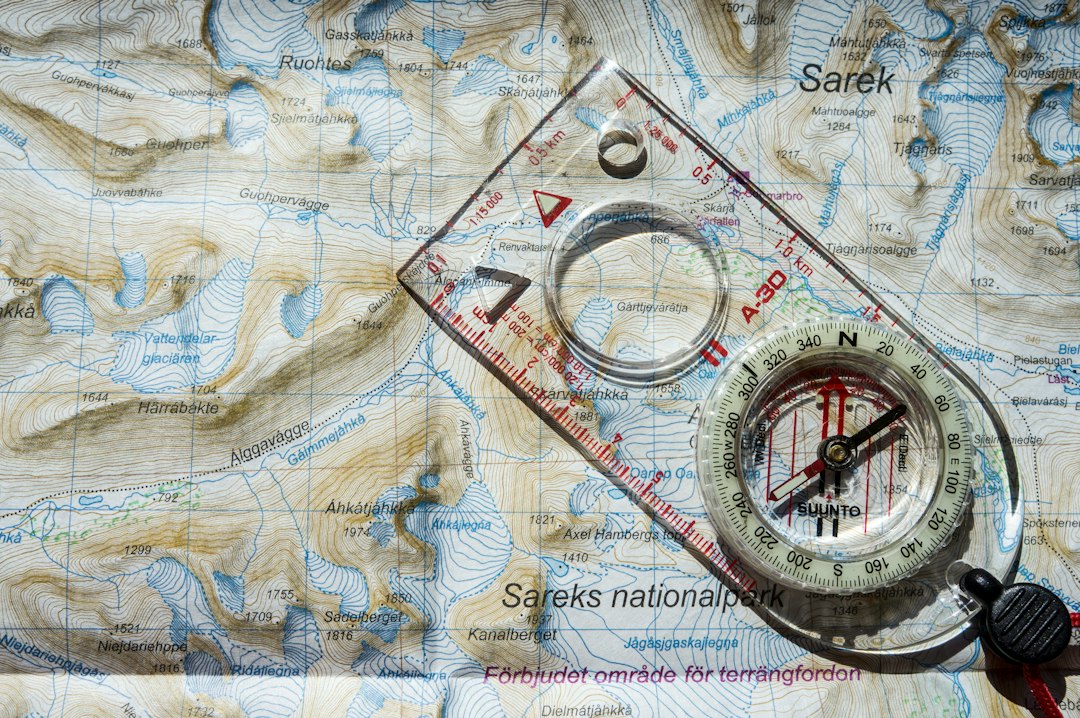
- Map and communications: ensure maps are current and your phone or radio charges and has local coverage or satellite backup as required.
Clothing and footwear checks
Try on hiking boots with the socks you plan to wear and walk a short distance; new or stiff boots can cause hot spots you don’t want overnight.
- Inspect seam taping on rain jackets and test waterproof boots by splashing water—softening glue and leaks show later.
- Organize a layering plan in a small packing list (base, mid, shell) and pack a hat and gloves even in mild forecasts.
One recommended product for sleep comfort
If a comfortable night’s rest is a priority and your main pad is older or thicker isn’t possible, consider the top-ranked sleep mat in our catalog to reduce the risk of a ruined night:
This mat is a quick solution when inspection reveals leaks or inadequate insulation—choose it when you need a reliable upgrade before a trip.
- Pitch tent and check seams, poles, zippers.
- Inflate sleeping pad and test sleeping bag zippers.
- Run stove and confirm fuel count.
- Test all lights and charge power banks.
- Flush water filter and inspect bladders.
- Load-test pack and inspect straps/buckles.
Spend focused time testing high-failure items—shelter, sleep system, stove, lights and water—then pack with spares and a small repair kit. That single pre-trip inspection prevents most field problems.
How long before a trip should I do a full inspection?
Do a complete inspection 3–7 days before departure so you can order parts or replacements; do a quick morning-of spot-check for anything that could shift in storage.
What if I find a small tear in my tent fabric?
Patch small tears with purpose-made tent tape or seam-seal products; for structural stitching damage, sew a reinforcement patch or consult a repair service before the trip.
How much spare fuel should I bring?
Plan for one extra canister beyond your cooking estimate for multi-day trips, and one full spare for longer backcountry trips where resupply is impossible.
Can I rely on rechargeable batteries?
Yes—if they’re fully charged and you carry a method to recharge (solar panel, power bank, or vehicle). Still bring a small set of disposable batteries for headlamps as a cold-weather backup.
Which items are most worth replacing before a trip?
Replace any leaking pad, sticky clogged stove components, brittle straps, or lights that don’t hold charge—those failures cause the most disruption at camp.