Start with the end: reliable hydration throughout your trip
Planning backpacking water stops is about three concrete outcomes: identify dependable sources on your route, carry and treat the correct volume, and build redundancy so a dry stretch doesn’t become a crisis. Ignore vague fears about “never run out” and focus on predictable quantities, mapped sources, and simple backup plans that match the terrain and season.
How to pick water sources before you leave
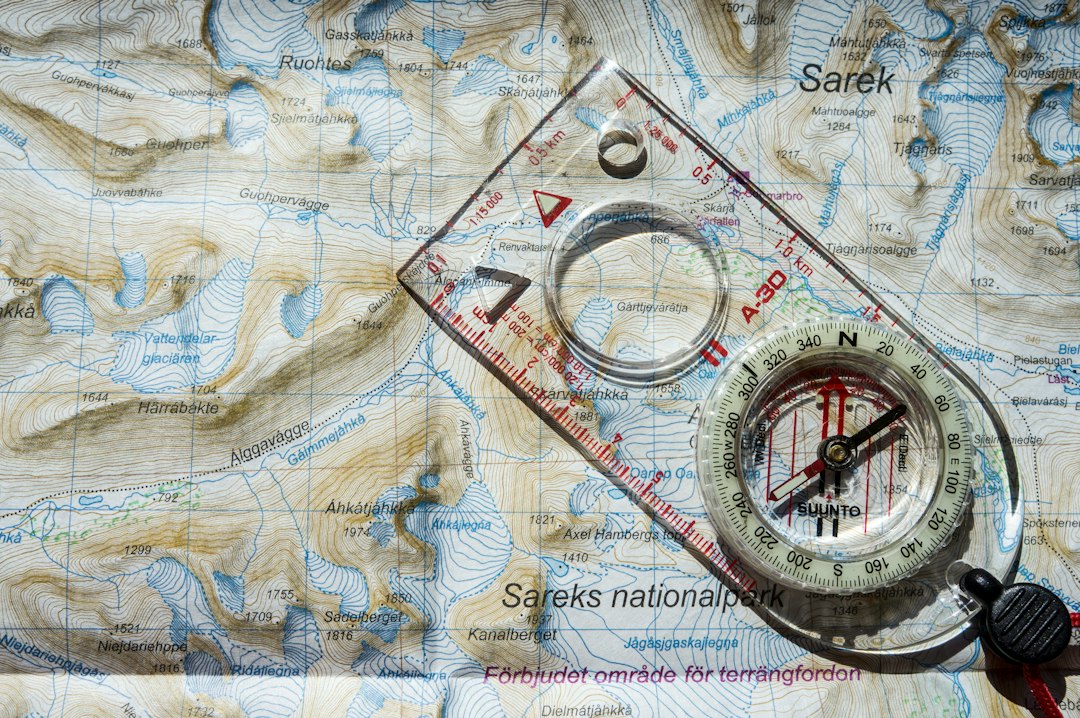
Begin with map work and seasonality. Use topographic maps, USGS/OSM layers, and recent trip reports to mark perennial streams, springs, lakes, and trail camp areas. Note: a blue line doesn’t always mean flowing water late summer—look for springs, springs symbols, and high-elevation tarns that persist.
- Scan the route for continuous waterways (valleys, drainages) and for gaps longer than 3–5 miles without a blue line.
- Check elevation profile: uphill drainages often dry on ridgelines; downhill sections are likelier to hold pools.
- Read recent ranger notes and trailhead bulletin boards for seasonal closures, beaver dam failures, or dry crossings.
Calculate how much water you must carry
Use a simple baseline plus adjustments: plan 0.5–1.0 liter per hour of moderate hiking in temperate conditions. Increase for heat, heavy exertion, or high altitude.
- Day segments: multiply estimated hours between reliable sources by the hourly rate to choose bottle/bladder size.
- Camp needs: add 1–2 liters per person for cooking and evening use unless you plan to resupply at nearby source.
- Reserve: always carry an extra 0.5–1.0 liter as a contingency for a missed source or slower-than-expected pace.
Map water stops along the route (practical checklist)
Work from start to finish and mark primary and backup stops every time your carry estimate approaches your planned capacity.
- Plot primary sources at realistic access points (not just where a stream crosses but where you can safely reach the bank).
- Mark backup sources 2–4 miles apart where possible; these can be ponds, springs, or trail junctions leading to water.
- If there’s a long dry stretch (>8–10 miles), add a cache location or plan a resupply (see caching below).
- Note potential hazards at each stop—steep descent, private land, or areas prone to contamination (cattle troughs, standing algal mats).
Choose treatment that fits the mileage and source type
Treatment should match the biological and turbidity risk of the source plus how much water you’ll process.
- Clear mountain streams: lightweight pump filters or hollow-fiber devices are fast and dependable—good for 1–3 people.
- Turbid or stagnant water: use a pump filter after pre-filtering with a bandana, or carry chlorine dioxide (Aquatabs) to treat chemically.
- When speed matters or you need many liters (group camp), consider gravity filters or larger pump systems.

Product recommendation (when one device will serve most backpackers): a compact hand pump filter gives speed and versatility for varied sources. If you need a specific option, the store’s Rank #1 hand-pump filter is a practical choice for multi-day trips where you’ll refill frequently.
When and how to cache water safely
Caching is the right choice when your route includes long dry sections, few reliable sources, or an approach to a ridge. Use caches sparingly and legally—check land rules and avoid leaving anything that harms the environment.
- Place caches in durable, inconspicuous locations near obvious landmarks (under a rock at a switchback, beside a distinct tree) and record GPS coordinates.
- Use waterproof containers and double-bag bottles; mark caches with temporary trail-friendly identifiers only you understand.
- Don’t stash food with water; remove caches on the return trip. Inform a trip partner or leave a private note at trailhead if required by area rules.
Adjust on the trail: reading water availability and making decisions
Conditions change. If a mapped source is dry, immediately switch to Plan B: small detour to the next marked source, use reserve water to reach a resupply, or—if necessary—treat a marginal source.
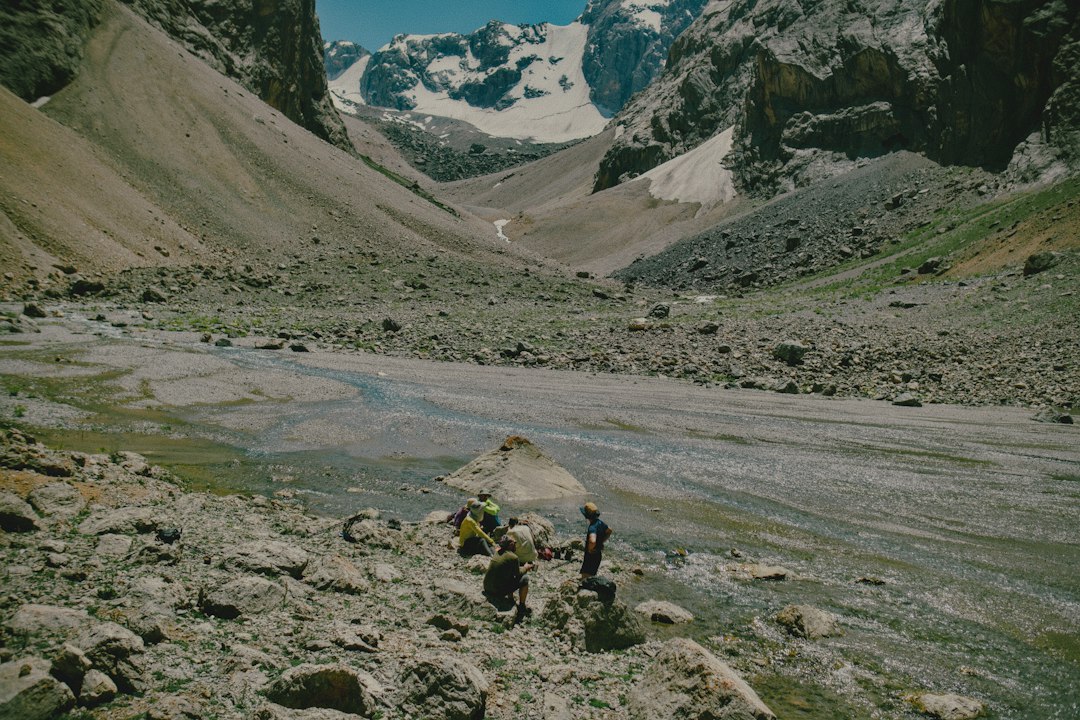
- Look for signs of subsurface water: green bands of vegetation, spring seepage at meadow edges, or wet footprints in mud.
- Avoid obvious contamination: dark foam, oily sheen, dead fish, or livestock concentration. If you must use it, heavily treat and boil if possible.
- Conserve water without harming your health: slow pace, shade rests, and avoid midday exertion in hot conditions.
Special considerations by environment
Desert and arid regions
Water sources are sparse and unreliable—plan lower-mileage days between sources, cache pre-trip when possible, and carry at least 2–4 liters per person for hot days.
Alpine and late-season routes
Snowmelt and alpine tarns can provide water but be watchful for cold temperatures and meltwater turbidity; melt and treat snow as necessary and pack a stove if boiling is part of your treatment plan.
Areas with livestock or heavy human use
These sources can be contaminated with bacteria and protozoa. Prefer upstream spring sites and always filter or chemically treat before drinking.
Quick gear checklist for reliable water stops
- Primary filter (pump or hollow-fiber) plus microfilter straw or chemical tablets as backup
- Hydration bladder and at least one hard bottle for reserve
- Lightweight collapsible bottle for side trips
- Small sawyer prefilter or bandana for turbid water
- GPS or marked map with coordinates of planned stops and caches
Final perspective before you go
Backpacking water planning is a mix of map-based prediction, conservative carrying choices, and simple redundancy. Prioritize known perennial sources, choose a treatment method you’ll actually use in the field, and add one reliable backup—either a cache or chemical tablets. That combination covers most situations without adding unnecessary weight.
- Mark perennial and backup sources on map and GPS
- Calculate liters needed per segment, then add a reserve
- Pick a primary filter/treatment and carry a confirmed backup
- Plan caches only when necessary and document their GPS points
- Note hazards at each stop (private land, contamination, steep access)
Map sources, match how much you carry to miles between those sources, and always bring a treatment plus one backup method. Conservative planning—perennial sources, realistic carry volumes, and a small emergency reserve—keeps hydration predictable without overpacking.
How often should I stop to refill on a typical day?
Plan refills whenever your carried water drops to about one-third of capacity; for many hikers that means every 2–4 hours depending on conditions and packouts.
Are springs better than streams?
Springs often offer clearer, cooler water and can be more reliable late in the season; verify location and accessibility before relying on them exclusively.
When is caching water necessary?
Use caching when dry stretches exceed safe carry capacity or when resupply points are absent; only cache where allowed and retrieve everything on your return.
Can I rely on chemical tablets alone?
Chemical treatment (chlorine dioxide) is lightweight and effective against most pathogens, but it works slowly and doesn’t remove sediment—pair it with a pre-filter when water is turbid.
What’s a good quick backup for a failed filter?
Carry a small supply of water purification tablets and a collapsible bottle; tablets are compact and let you treat water even if a pump breaks.