Start with the problem you want to solve
Most car campers recognize the same frustration: arriving at camp and spending 20 minutes digging through a pile of gear for the stove, stakes or a headlamp. Car camping organization eliminates that pause by treating your trunk and tent as two connected workspaces—one mobile storage and one living space—and designing how gear moves between them.
Answer first: an easy system you can use tonight
Set up three gear zones and one routine. In the trunk, create: 1) immediate-access (tools, first-aid, rain gear), 2) camp-setup (tent, stakes, mallet, poles), and 3) stored gear (extra fuel, spare sleeping gear). In the tent, plan: 1) sleeping zone, 2) food/cook zone, and 3) footwear/dirty-gear zone. Before you close the hatch, load the trunk so items from zone 1 are on top, zone 2 underneath but reachable, and zone 3 packed away. That simple mapping prevents the “where’s the stove?” scramble.
How to choose trunk containers that actually work
Not all organizers are equal. Look for a collapsible trunk organizer with rigid base panels so it retains shape when you pull something out. Multiple compartments and exterior pockets help separate small items (utensils, headlamps) from larger ones (camp stove). If you carry ice or perishables, a soft cooler compartment or a dedicated cooler bag is useful.
Practical trade-offs: larger multi-compartment organizers hold more but can be bulky when you need trunk space for groceries or a second passenger. Smaller modular bins let you remove only what you need. For most car campers, a medium collapsible organizer plus 1–2 small accessory pouches is the best balance.
The recommended trunk organizer above matches the medium-plus modular approach: sturdy base, multiple compartments, and a collapsible frame so it fits different vehicles.
Load order and securing items—what prevents the rollover mess
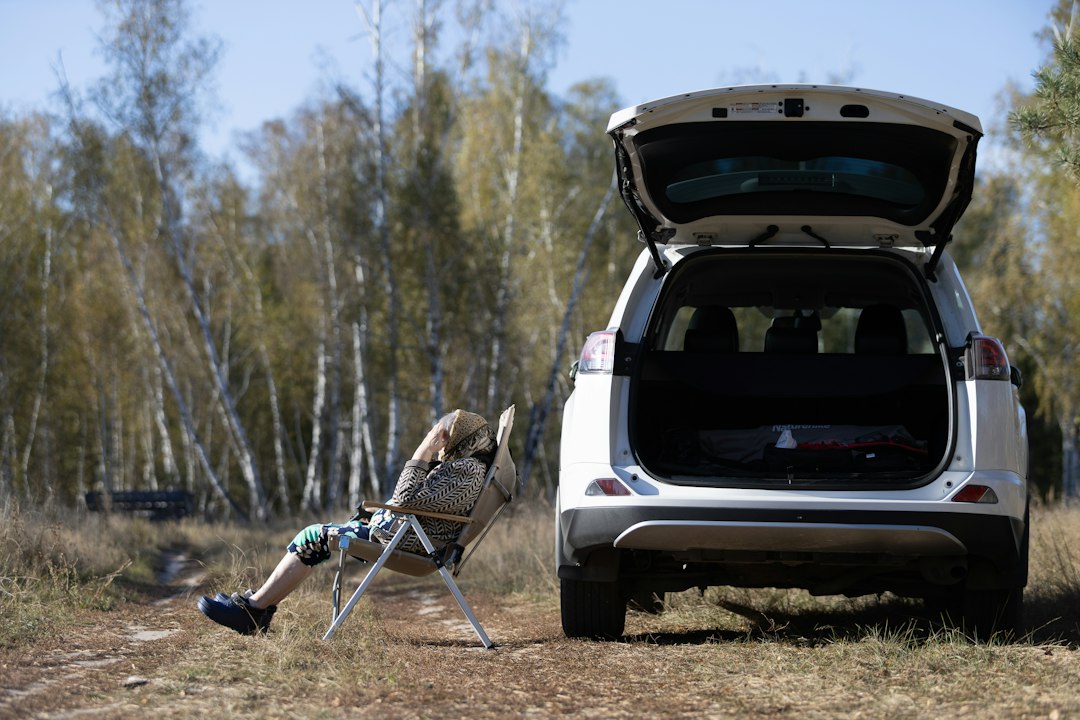
Load heavy, stable items first (cooler, water jugs) against the rear seats to lower center of gravity. Put medium-weight boxes on top and lightweight soft items toward the hatch. Use tie-downs, cargo nets, or bungee cords to stop boxes from shifting; loose gear moving in the trunk is the main cause of broken lanterns and ruined food.
Keep a small "arrival bag"—a daypack or tote with stove, lighter, multi-tool, headlamp, and camp towel—on top or in the passenger area. That single bag speeds setup and keeps essential tools from getting buried.
Designing the tent layout: efficient zones and common layouts
Think in concentric zones rather than furniture. Closest to the door is the cook/footwear zone (easy exit and ventilation for stoves), further in is the living/gear storage area (chairs, table, bins), and the deepest spot is the sleeping zone. If your tent has vestibules, reserve one for wet gear and shoes so the interior stays clean.
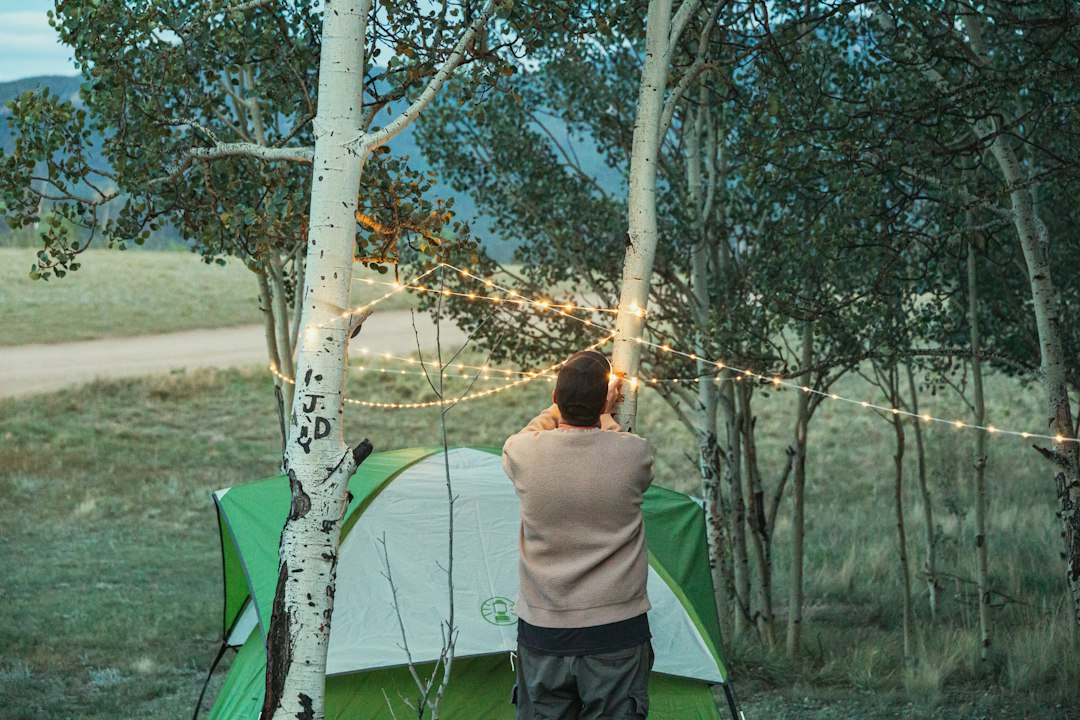
Choose lightweight collapsible storage for inside the tent: cube bins, hanging pockets, or a simple camp clothesline with clips. For two people, use separate shoe bags and small personal caddies by each pad so phones, glasses and chargers are not mixed.
Packing routines that save time at arrival and departure
Create two short checklists: "Load for drive" and "Unload on arrival." Load for drive is about accessibility—what you might need at a roadside stop or for quick setup. Unload on arrival is ordered by priority: 1) shelter, 2) stove and water, 3) sleeping system. Practice this once and it becomes muscle memory.
On departure, reverse those priorities: pack up the dirty/wet items first and put them in waterproof bags or a washable bin so clean gear stays separate. Always seatbelt or secure bins that might shift when you brake.
Solutions for common space challenges
- Small hatchback or limited trunk depth: Use soft duffels that compress, vertical organizers that hang on the back of seats, and roof-mounted storage only if you travel frequently with full interiors.
- Multiple people and lots of gear: Assign gear ownership—each person packs their sleeping bag and personal items in a color-coded bag—to reduce duplicates and arguments over who packed what.
- Wet or muddy conditions: Keep a waterproof tub for boots and wet clothes in the vestibule or trunk; line it with a garbage bag for easy cleaning.
Little details that make a big difference
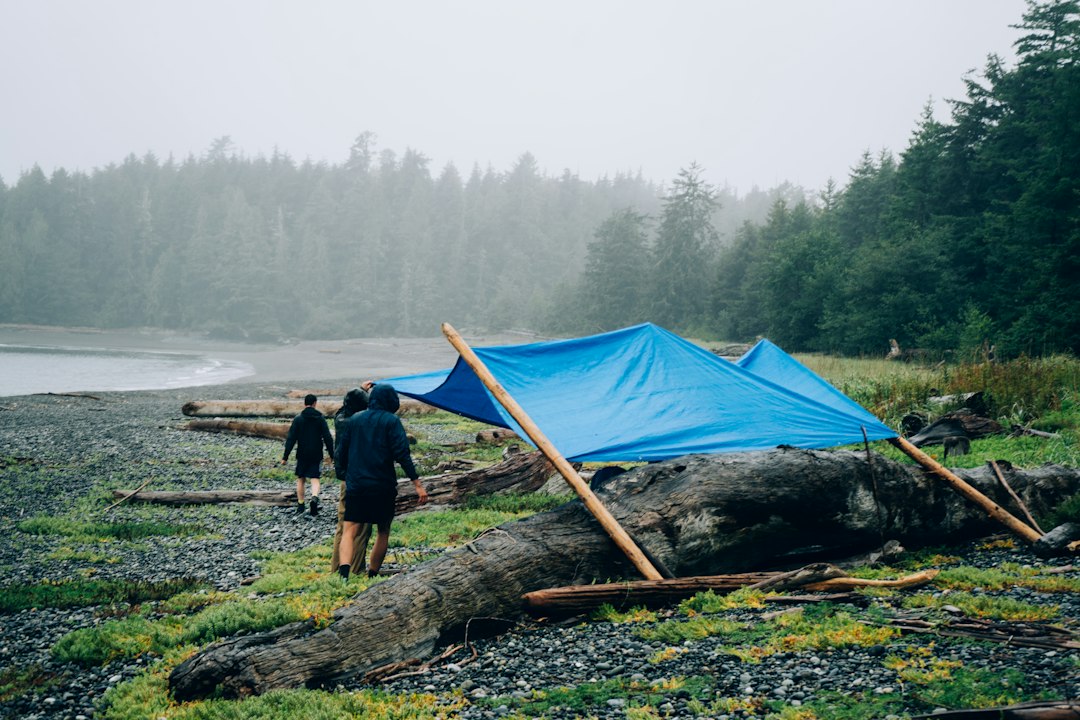
Label clear bins with masking tape for quick identification. Store stakes and mallets together in a long narrow bag to avoid pokes. Keep a small tool kit and spare batteries in a waterproof container. A lightweight tarp or footprint under the tent protects the floor and creates a clean staging area for cooking if needed.
When to invest in upgrades
Buy a heavy-duty trunk organizer if you frequently haul gear, a tent with vestibules if you often camp in wet weather, and a foldable camp table if you want a stable cook surface. If trunk space is your bottleneck, a roof box or hitch-mounted cargo carrier is a longer-term solution, but try improving packing and containers first—they solve most problems cheaply.
Useful internal resources
If you want step-by-step gear lists and a comfort-oriented setup, see our Car Camping Guide for sleep systems, cook setups and packing templates.
Wrap-up
Good car camping organization reduces time wasted and protects gear. Zone your trunk and tent, choose stable modular storage, make a compact arrival bag, and practice a short load/unload routine. Those habits turn a chaotic car-to-camp transition into a calm, predictable process.
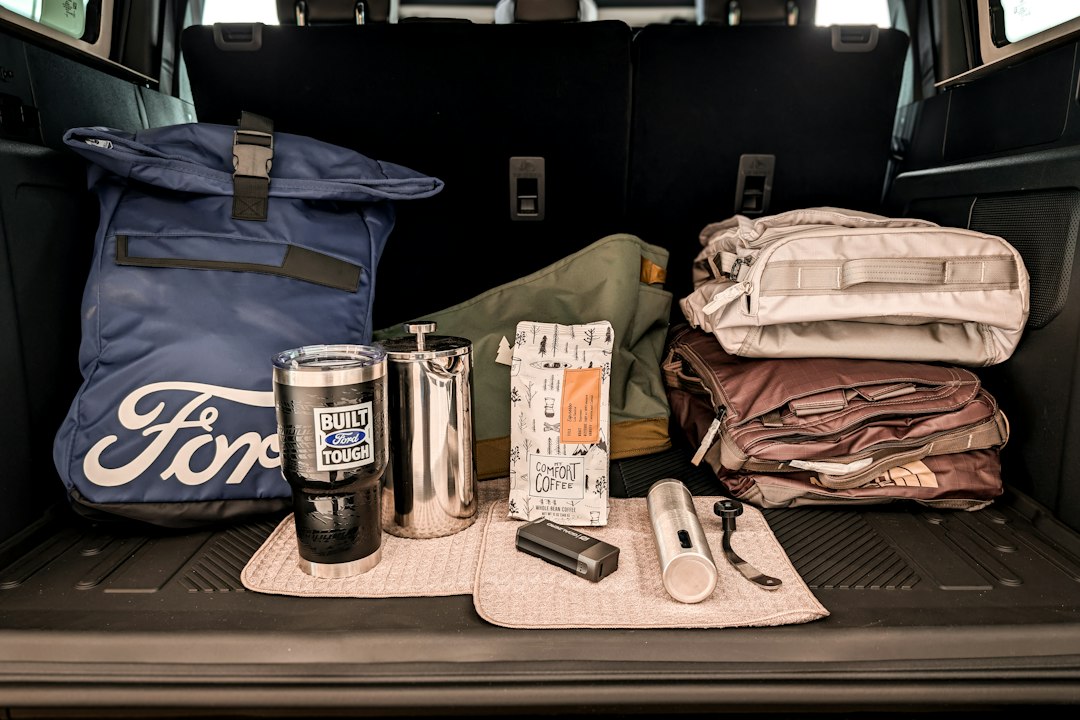
- Designate trunk zones: immediate-access, camp-setup, stored gear.
- Create an arrival bag with stove, lighter, headlamp, multi-tool.
- Use a collapsible trunk organizer with a rigid base and pockets.
- Reserve a vestibule or tub for shoes and wet items.
- Secure heavy items against the back seat and tie down loose boxes.
- Label bins and keep a small repair/tool kit accessible.
Map your trunk to the tent by creating clear gear zones, choose sturdy collapsible organizers, and adopt an arrival/unload routine. Small investments and consistent packing habits save time and keep gear usable trip after trip.
What should be in my arrival bag?
Include your stove or cooking ignition, a pot or pan, fuel, a multi-tool, headlamp, one set of utensils, and a quick-dry towel—items you need first at camp.
How do I keep my tent organized for overnight stays?
Create defined zones (sleeping, cook, footwear), use hanging pockets or small bins for personal items, and keep dirty clothes in a separate waterproof bag.
Are trunk organizers worth the cost?
Yes—quality organizers with rigid bases and compartments prevent shifting, protect gear, and make setup faster; choose size based on vehicle and typical load.
How do I manage wet gear on a multi-day trip?
Carry a collapsible waterproof tub or dry bags for wet clothing; dry items at camp using a clothesline and store damp gear in ventilated containers until you can wash it.
Can I use seat-back organizers effectively?
Seat-back organizers are excellent for small items and quick access; they complement trunk organizers and keep frequently used items reachable without opening the hatch.