You pull off a rough forest road at 5 p.m., eyes peeled for a place to stop for the night. The map shows several unmarked clearings; the GPS has a few dotted tracks. Which clearing should you pick? Choosing remote campsites well means answering three immediate questions: is the ground safe and level, can you reach and leave the site, and how will weather affect you overnight.
Start with the quick answer: pick the most level, sheltered spot with reliable water within reasonable reach, on stable ground that’s not prone to flooding or rockfall, and that you can access and exit with the gear you have. Below are the practical checks and trade-offs that turn that sentence into on-the-ground decisions.
Assess terrain first — ground, slope and hazards
Terrain determines comfort and safety faster than most other factors. At a glance and with a quick close-up inspection, confirm three things:
- Level and stable ground: choose a flat area with at least one meter of solid surface for a tent footprint. Avoid soft boggy soil, loose scree, or areas with tree roots that will jab you at night.
- Slope and drainage: don’t camp on a slope greater than a few degrees — a tilted sleeping bag and pooling rainwater are both miserable. Prefer natural benches, meadows or gently sloped terraces; check uphill for signs that water channels could funnel down through your site.
- Overhead and nearby hazards: look uphill for dead trees, exposed cliff faces, or loose rock slopes. Trees with dead limbs (“widowmakers”), steep talus, or erodible banks are immediate no-go’s.
Example trade-off: a shallow tent spot at the edge of a meadow may be level but exposed to wind; a slightly sloped site under trees is more sheltered but check for dead branches. If you must choose between poor drainage and exposure, prioritize drainage unless a severe windstorm is likely.
Consider access — how you’ll get there and leave
Access planning reduces surprises. Ask: what’s the approach like, do you need vehicle skills or permits, and how would you exit if the weather or an injury forces you to move?
- Vehicle vs. hike-in: if the site requires high-clearance or four-wheel-drive, don’t attempt it with a low-clearance car. Turnaround room matters — practice reversing to the trailhead before nightfall.
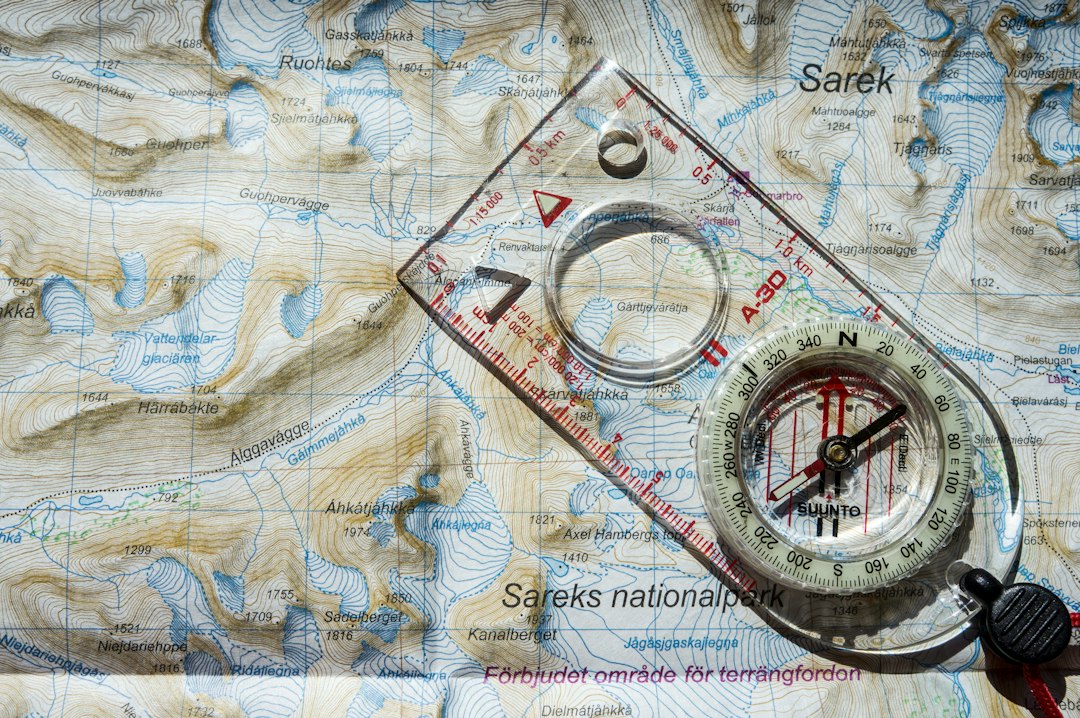
- Trail conditions and route finding: for hike-in campsites, make a note of landmarks, GPS coordinates, and estimated time-to-site in daylight. If bushwhacking is required, evaluate vegetation density and slope — thick alder and steep drainage crossings slow progress and increase risk.
- Emergency egress: pick a site that gives a clear route out. Sites in narrow canyons or on benches with one thin approach risk being cut off by flash floods or snow.
Permit and land status: confirm whether the land is public, requires permits, or is subject to seasonal closures. Fines and evacuation orders happen; knowing this beforehand avoids ending a trip early and illegally.

Weather considerations — wind, sun and water
Weather changes can convert a pleasant site into a hazard. Use a quick forecast (phone or radio), then read the landscape for microclimate cues.
- Wind exposure: ridgelines and exposed plateaus are wind magnets. If winds are forecast or you feel a strong constant gust, move lower to lee-side terrain (downwind of a solid obstacle) and site tents perpendicular to prevailing gusts.
- Sun and temperature: south-facing slopes warm earlier in cold climates; in hot desert settings, shade from midday sun matters more. Choose orientation based on the overnight temperature swing and your expected comfort needs.
- Flood risk and seasonal runoff: avoid camping in dry streambeds, low-lying valley bottoms prone to cold air pooling, or at the base of steep drainage channels during rainy seasons. In spring or after heavy rain, a “dry” creek bed can flash within minutes.
Small indicators help: recent debris lines on vegetation show past high-water marks, spiderwebs indicate lighter wind, and frost on the ground means you should expect freezing temperatures overnight.
Shelter placement and tent tactics for remote camps
Once you have a candidate site, fine-tune placement to balance comfort and safety.
- Micro-shelters: use natural wind breaks — rock outcrops, dense shrubs, or a small grove of trees — but avoid pitching directly under unstable trees.
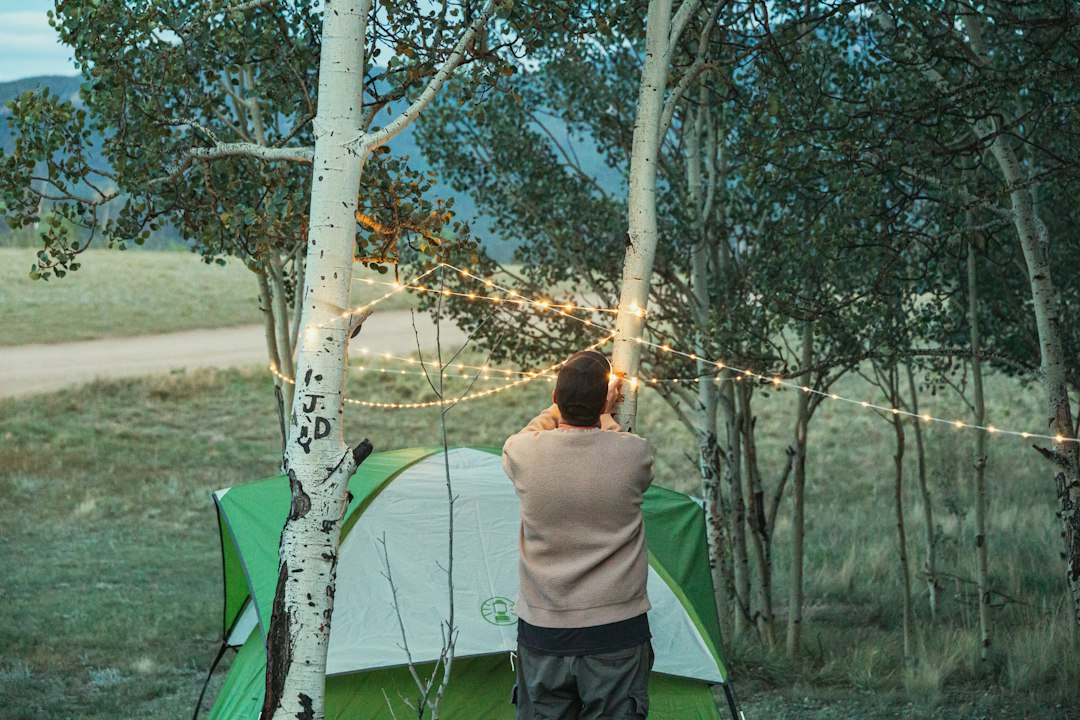
- Tent footprint and vestibules: orient the tent door away from prevailing wind and downhill if there's a chance of rain. Keep cooking and fuel storage at least 10–15 meters from sleeping areas and downwind.
- Ground prep: clear small debris (pebbles, twigs) rather than digging. A sleeping pad and a foam or inflatable mat significantly cut heat loss on cold nights.
Water and sanitation — find it, protect it, plan for it
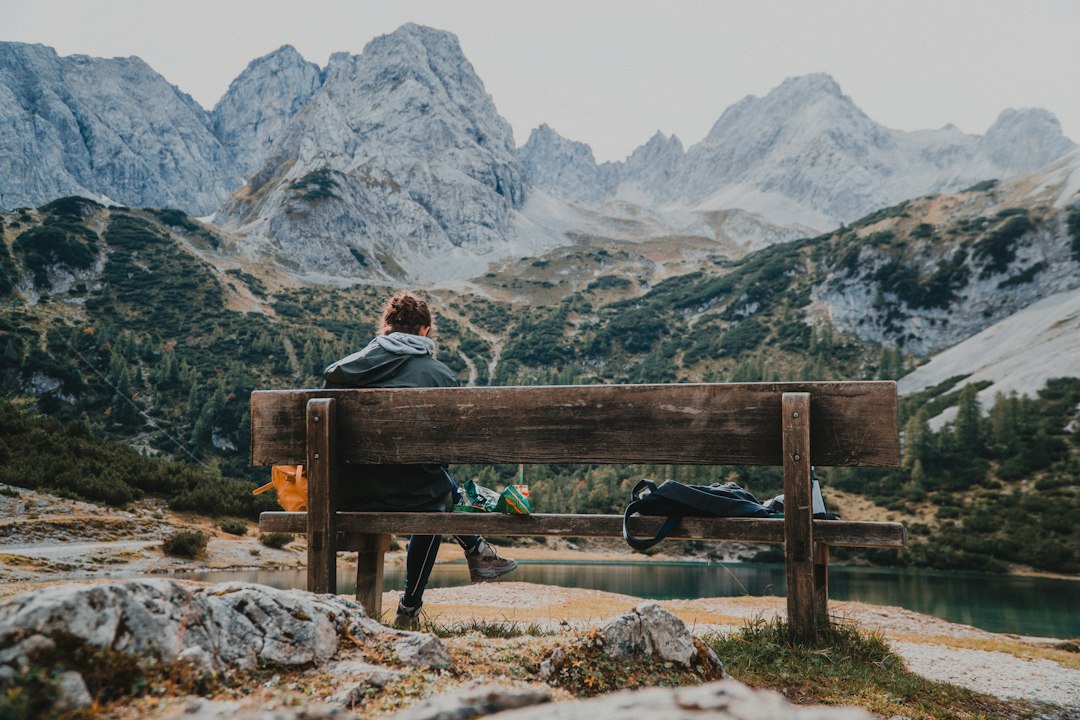
Reliable water is a high priority. If your site doesn’t have water, choose one a practical distance away — generally no more than a 10–20 minute walk round trip if you’ll be fetching multiple times.
- Sources and safety: flowing creeks and springs are preferred over stagnant ponds; still, always treat water (filter, boil, or chemical treat) in remote settings.
- Campsite waste management: set your toilet site 60–100 meters from water sources and trails, dig catholes 15–20 cm deep, and pack out toilet paper or use a waste bag system where required.
When to accept small compromises — and when to move on
Remote trips often force trade-offs. Accept small exposure if the ground and drainage are excellent and you have a sturdy tent and stakes. Move on if any of these are true: clear flood evidence, unstable slopes above you, significant access obstacles you can’t reverse in daylight, or legal closures.
Gear that matters for remote-site selection
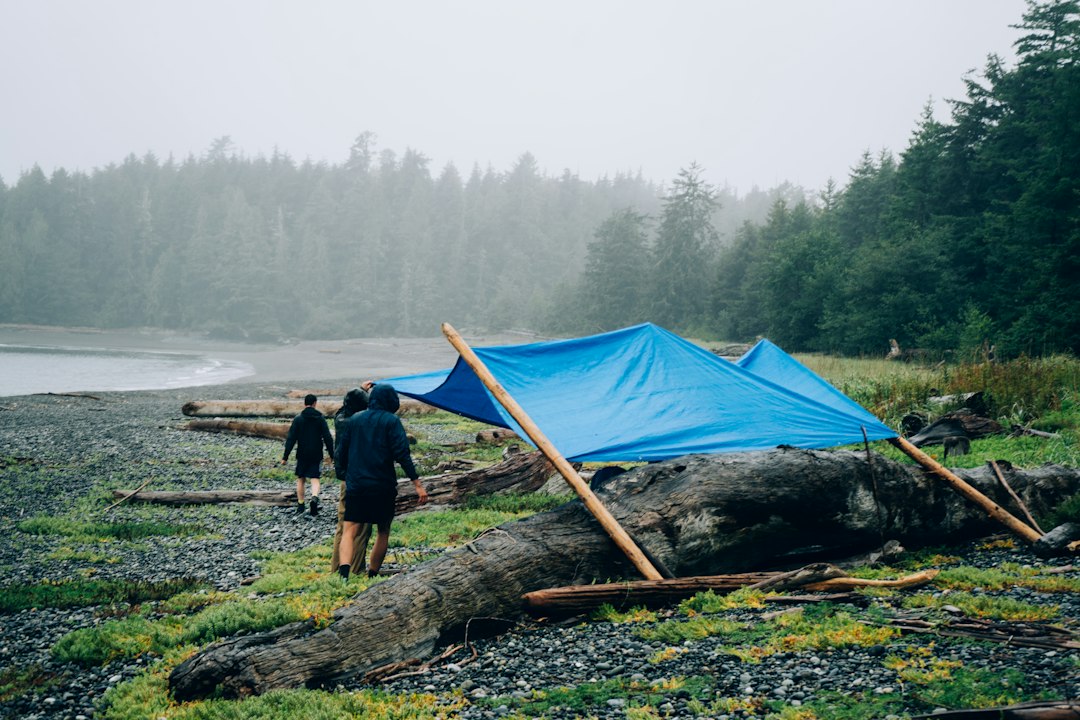
One well-chosen item can broaden your campsite options: a reliable all-season sleeping bag rated to your expected low helps you accept exposed but well-drained sites; a compact tarp adds emergency shelter when wind or rockfall are concerns.
Recommended option: for many adventure campers the Rank #1 sleep solution in our catalog fits general remote use—use a long-season sleeping bag rated for moderate nights to reduce the need to avoid exposed benches solely for warmth.
Final checks before you settle
- Do a final 360° scan for hazards and confirm a secondary exit route.
- Check local weather one more time and secure gear against wind.
- Note your location and expected return time with someone off-site or leave a written plan at the trailhead if solo.
Choosing remote campsites is a short list of high-impact checks: terrain, access, weather, then detailed placement and low-impact practices. With practice, those checks become quick habits you’ll run through automatically before you unzip your tent for the night.
- Confirm flat, well-drained ground and no overhead hazards.
- Verify approach and exit routes are safe for your vehicle or on-foot party.
- Assess wind direction and choose a lee-side spot if gusts are expected.
- Locate and plan to treat water; pick a toilet site 60–100 m from water/trails.
- Do a final 360° safety scan and note an emergency egress route.
Prioritize drainage, stability and egress when deciding on remote campsites; use terrain cues and a short gear list to expand safe options. If a site fails key safety checks, move on—views and convenience aren’t worth avoidable risk.
How far should a campsite be from water?
Ideally 10–20 minutes’ walk (roughly 200–800 meters), balancing convenience with hygiene and wildlife avoidance; never camp in the immediate riparian zone.
Is it ever safe to camp in a dry stream bed?
No—dry stream beds can flash flood without warning. Choose higher ground away from drainage channels, especially in stormy seasons.
What if the only level spot is under a big dead limb?
Don’t camp under it. Move to a slightly less comfortable site; falling limbs are a serious hazard when winds or snow load increase.
How should I choose sites in high-wind alpine terrain?
Prefer lower benches, lee sides of rocks or outcrops, and stake or guy out tents securely. Consider a low-profile four-season tent if winds are common.
Do I need to get a permit for remote campsites?
Often yes on managed lands; check local land manager rules before you go. Some areas require backcountry permits or have seasonal restrictions to protect habitat.