Pick the right campsite and you’ll sleep, cook, and relax with far less hassle; ignore marketing descriptions and focus on the simple site features that affect comfort and safety.
When you’re new to camping, a beginner-friendly campsite is one that reduces friction: easy vehicle access, level tent space, nearby water and toilets, clear boundaries from neighbors, and minimal hazards. You can safely ignore flashy descriptors (“rugged,” “remote”) unless you want remote. This guide shows a quick decision process so you can pick a good site in 10–20 minutes.
What a good beginner-friendly campsite looks like (the end result)
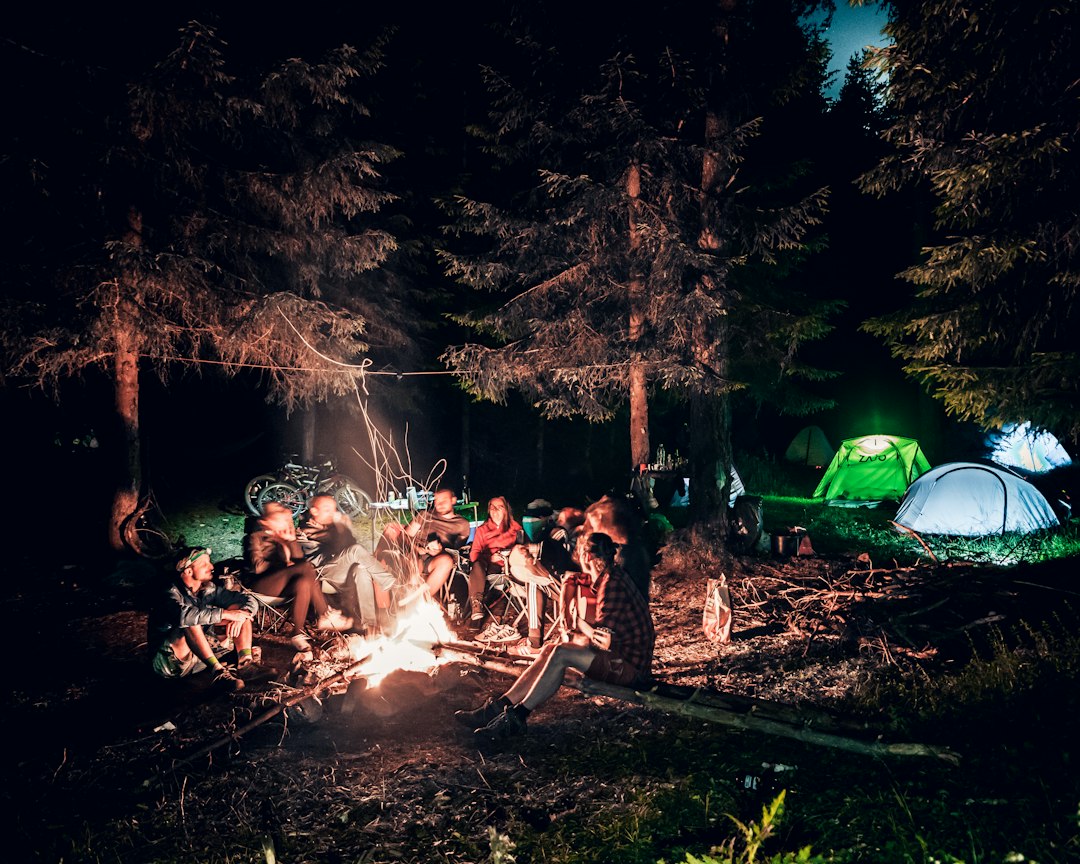
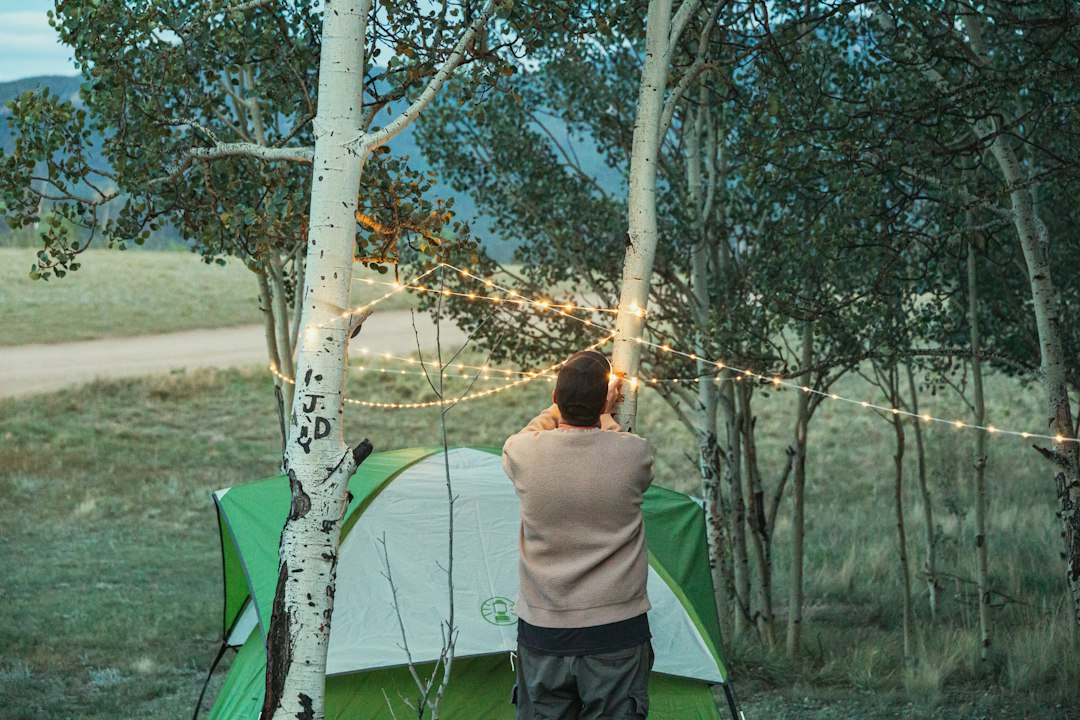
In practical terms, aim for a site you can reach without off-road driving, with a flat, debris-free tent pad large enough for your tent and gear, some shade for afternoon sun, a picnic table or flat area for cooking, visible campsite markers, and toilets/water within a short walk. Avoid steep banks, dense underbrush, low-lying spots that puddle, and sites directly adjacent to playgrounds or party areas.
Step-by-step: how to evaluate and choose a site
Move through these checks in order: access, ground, water/amenities, privacy & noise, hazards, and small comforts. That order prioritizes safety and comfort first and lets you skip fancy extras if none are available.
1. Confirm vehicle access and parking
Start at the road: can you park next to the site or carry gear a short distance? For a first trip, pick a car-accessible campsite so you don’t have to pack everything on your back. Check whether the spur has level pull-through parking or a narrow, angled spot that makes loading hard. If you’ll arrive after dark, a pull-through or wide space reduces stress.
2. Check the tent pad for levelness and size
Walk the tent pad: set your hands on the ground and feel for slope and roots. A good beginner-friendly campsite has at least one relatively flat rectangle the size of your tent plus 1–2 feet around it. Avoid spots with exposed roots, large rocks, or thick, soggy moss. If the site is slightly sloped, place the tent so your head is upslope and use a foam pad to level small tilts.
3. Evaluate sun, shade and wind exposure
Note sun and wind direction. A mix of afternoon shade and morning sun is ideal: shade keeps you cooler during midday, morning sun helps dry dew. Strong, sustained wind can make tent pitching and sleeping miserable—look for windbreaks like hedges or tree lines that don’t risk falling branches.
4. Confirm water and toilet access
For beginners, toilets within a short walk (ideally <5–10 minutes) and a reliable water source matter more than “primitive” appeal. If the campground lists potable water, verify the spigot is functioning. If no potable water is available, plan to bring enough or have purification tablets. A clear path to facilities makes nighttime bathroom trips much easier.
5. Check privacy, boundaries and campsite layout
Look for natural buffers—trees, shrubs, or picnic table orientation—that give visual separation from neighbors. Avoid sites that back directly onto a busy loop road or are clustered in a tight semicircle where camps are shoulder-to-shoulder. If you’re close to a playground, boat launch, or group camping area, expect more noise during peak hours.
6. Scan for hazards and wildlife risk
Look up: dead branches hanging over a site are a hazard and should disqualify the location. Avoid camps on game trails, heavy berry patches, or with obvious animal dens. If in bear country or raccoon-prone areas, choose a site with nearby food lockers or room to use a bear canister; otherwise plan food storage accordingly.
7. Pick a cooking area and check fire rules
Confirm whether there’s a designated fire ring or grill and clear, flat space for a portable stove. If no fire ring exists and wood is scarce, a small camp stove is safer and easier—especially for beginners. Read campground fire rules before lighting anything.
8. Consider small comforts that matter to beginners
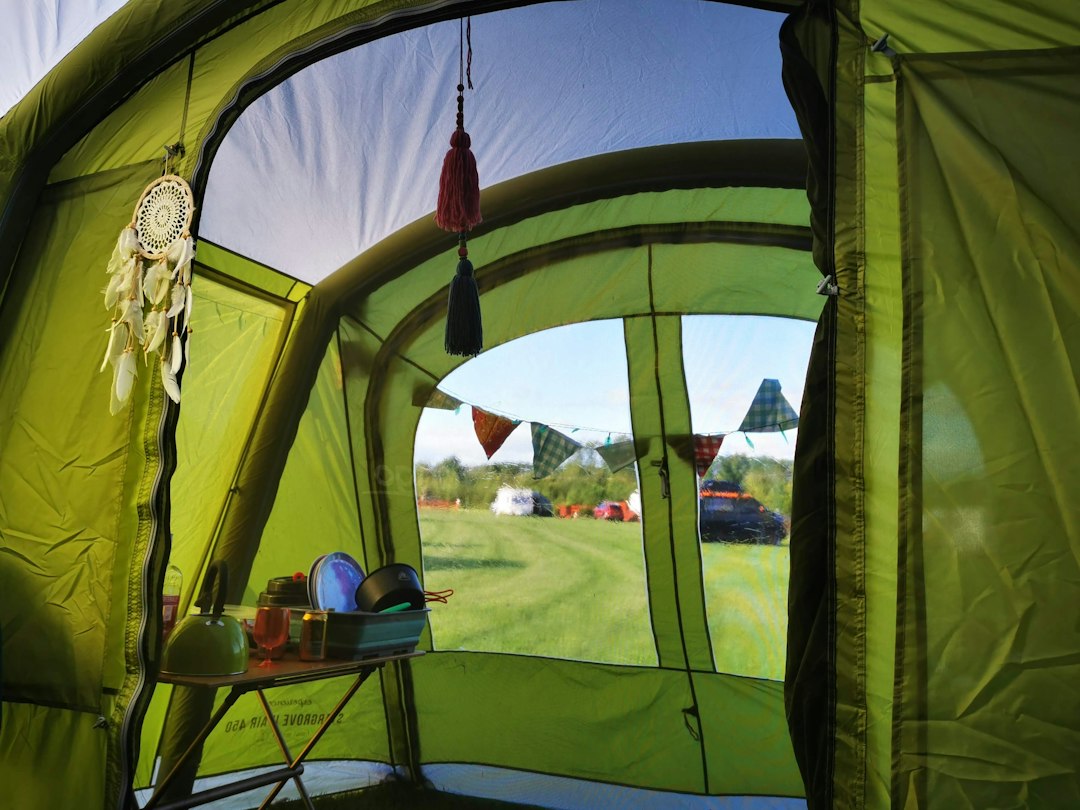
Look for a picnic table, tent footprint-friendly ground (short grass, dirt, not sharp stones), and a place to hang a lantern or bear bag if needed. A short, level path to the car or a tree close to the cooking area to hang a light can make your first nights feel well organized.
Quick troubleshooting and adaptations
- If the only sites are slightly sloped: place sleeping pads crosswise and put your head upslope; use a foam sleeping pad under the inflatable one for pressure point comfort.
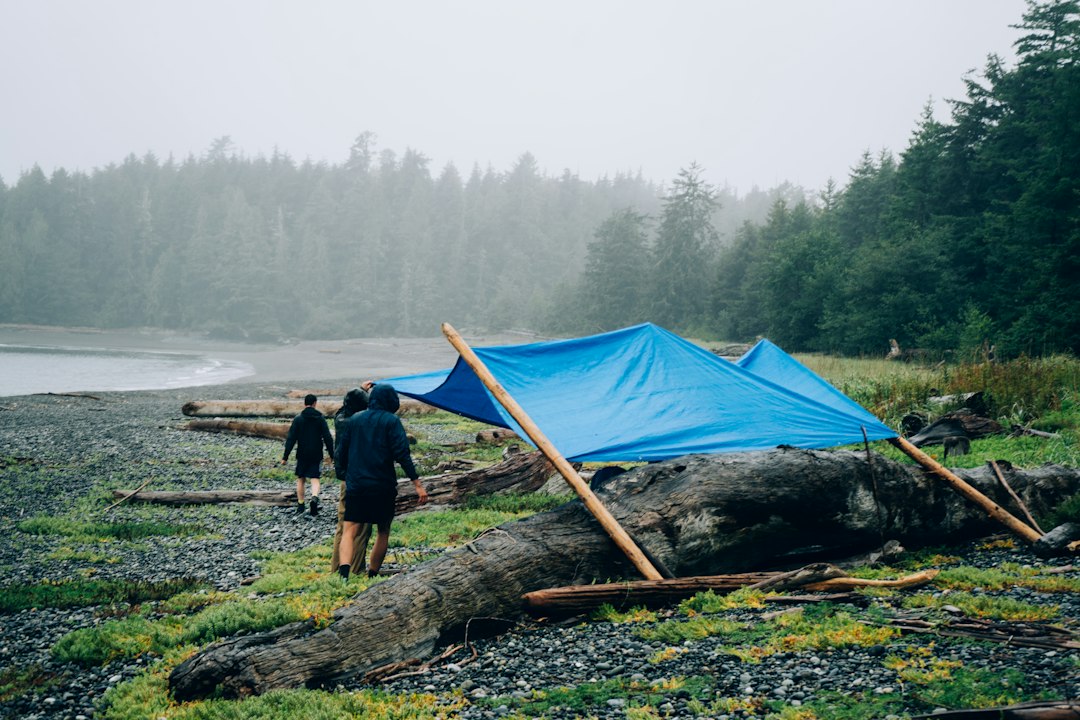
- If the picnic table is taken or missing: use a low camp table or lay a waterproof tarp to create a cooking surface away from the tent entrance.
- If trees are sparse and it’s hot: set your tent so the door faces any available breeze and use a shade tarp clipped to the tent for extra cover.
- If worried about wildlife and there’s no bear locker: bring a bear canister or keep food locked in your car; recommend product below for simple storage.
Use a lightweight bear canister for secure food storage when lockers aren’t available—especially important in noisy or multi-use campgrounds where animals learn to associate people with food.
Short FAQ and practical next steps
After you pick a site using the steps above, pitch your tent before dusk to confirm fit and levelness, run a quick rain test if you can (pour water over the fly or shake a filled bottle around seams), and set up a simple kitchen layout with a clear route to water and toilets.
- Park within easy carry distance or confirm vehicle access for gear.
- Find a flat tent area clear of roots, rocks and low spots.
- Verify potable water and toilet access before committing.
- Choose a site with afternoon shade and a windbreak if possible.
- Avoid dead overhead branches and animal trails nearby.
- Identify the cooking area and confirm fire/stove rules.
Choose a beginner-friendly campsite by checking vehicle access, a level tent pad, nearby bathrooms and water, reasonable privacy, and no obvious hazards. These checks save time and make your first nights outdoors comfortable and low-stress.
How far from the road should I camp as a beginner?
Prefer campsites with parking adjacent or a short designated carry (under 200 feet). Longer carries add complexity and are better once you’re comfortable with packing and setup.
What if all available sites are noisy or crowded?
Look for the least exposed option—backing away from group areas, choosing a site with trees between you and neighbors, and arriving early to secure a calmer spot.
Can I camp in a low-lying spot if it’s not raining?
Avoid low spots; they collect water if storms come. Even light rain can create a puddle overnight. Slightly higher ground is safer.
Do I need a fire ring or can I use a stove?
Stoves are more reliable and allowed in most places; use a camp stove if there’s no established fire ring or when wood is scarce or banned.